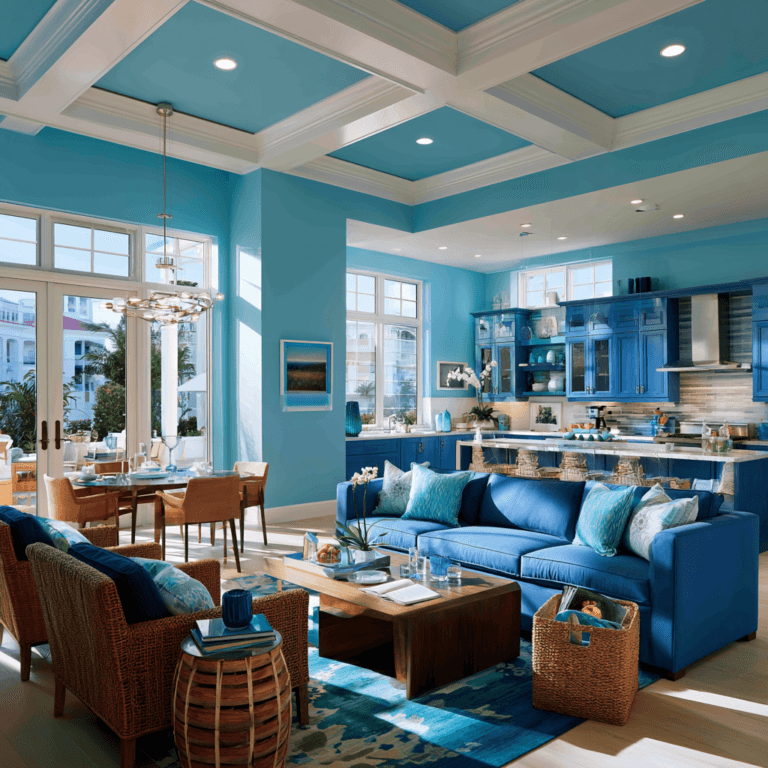

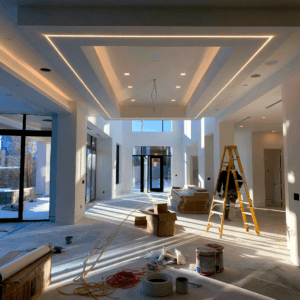
A luxury paint job only looks flawless if you’ve engineered the drywall to plane-flat tolerances, because premium, higher-sheen coatings amplify defects instead of hiding them. You need tight corner geometry, dead-level fastener fields, and joints feathered wide enough to vanish under eggshell or gloss. Validate with straightedges and grazing-light scans, then control mud viscosity, open time, and staged sanding grits. Choose Level 5 skim and consistent sealing when light is harsh—you’ll see why next.
What Luxury-Grade Drywall Finishing Looks Like
If you want a paint finish that reads truly high-end under hard daylight and raking LEDs, you need drywall work that goes beyond “smooth enough.” Luxury-grade finishing targets a uniform, plane-flat surface with tight corner geometry, feathered joints that disappear under gloss or eggshell, and fastener fields that stay dead-level with the surrounding gypsum. You validate flatness with straightedges and grazing-light inspections, not fingertips. You run at a consistent mud viscosity, control open time, and sand with staged grits to eliminate precision flaws without burnishing the paper. You keep knife pressure even, so you don’t emboss ridges or leave tool marks. You sharpen inside corners, float outside corners true, and maintain crisp transitions at reveals, trim returns, and shadow gaps.
Why Premium Paint Won’t Hide Drywall Flaws
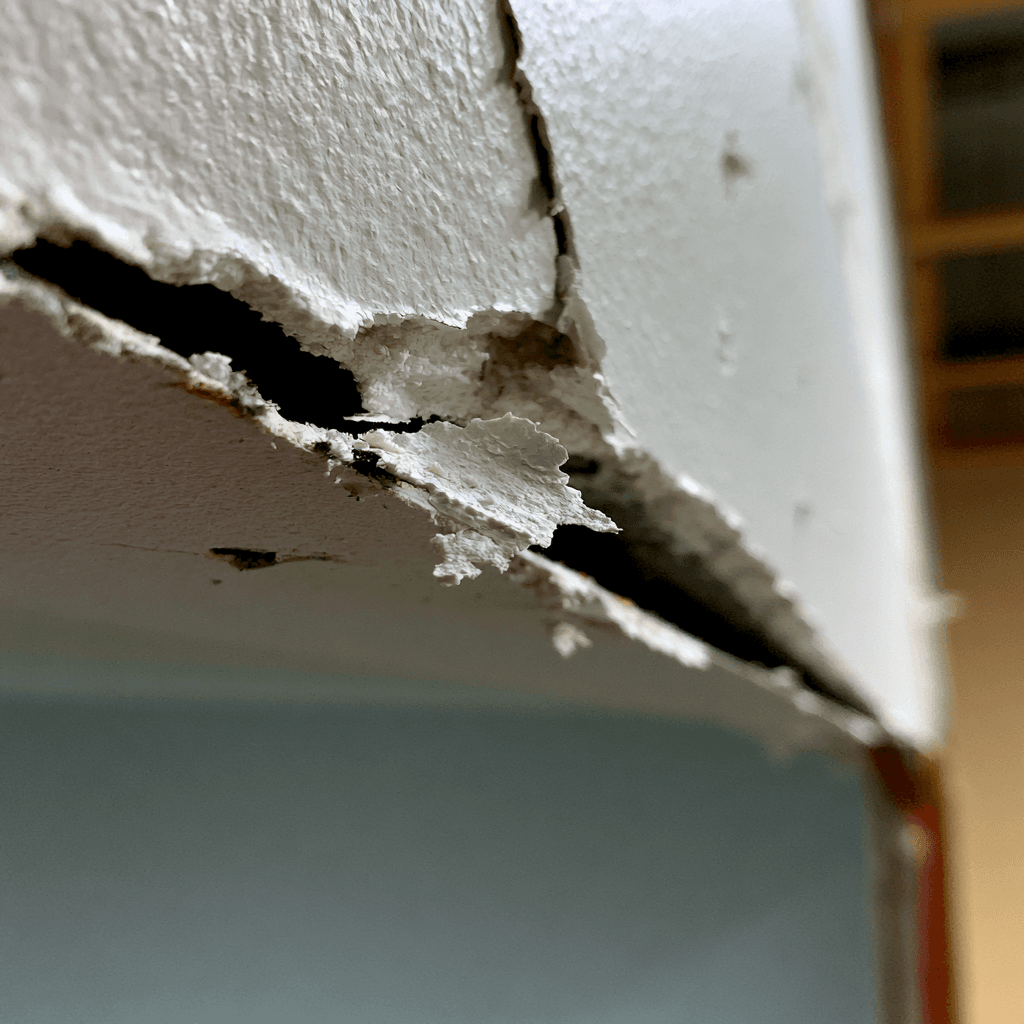
When you apply premium paint—especially high-gloss—you’re increasing reflectivity, not concealing defects, so every ridge, seam, and patch edge reads through. You can’t count on coverage to mask poor finishing because raking light magnifies surface waviness, tool marks, and inconsistent texture. If you want a luxury-grade result, you’ve got to treat drywall flatness as the substrate spec, not the paint’s job.
High-Gloss Reveals Imperfections
Why does a high-gloss finish make a wall look ruthlessly honest? Because high gloss forms a tight, specular film that doesn’t diffuse reflections. Instead, it amplifies micro-geometry: ridges at taped joints, shallow craters from sanding swirls, and slight edge build where compound feathering stops. You can’t “paint past” that; premium resin just locks those contours under a sharper optical surface.
If you want a luxury outcome, you must engineer the substrate. Specify a true Level 5 skim, control mud shrinkage, and sand with progressive grits while maintaining flatness with long tools. Then seal uniformly so the topcoat cures consistently. With high-gloss systems, craftsmanship becomes measurement, not hope.
Light Highlights Surface Defects
How does light expose drywall flaws that “premium” paint can’t hide? When you introduce raking daylight or hard LED wash, the beam skims the wall and amplifies micro-variations in plane. Paint can’t level a ridge, crater, or lap mark; it simply coats it, then the highlight-shadow pattern broadcasts it.
You control this by treating illumination as an inspection tool, not décor. Use precision lighting to scan at low angles, then correct the substrate: re-feather joints, knife off nibs, and re-skim depressions. Verify surface texture uniformity with consistent sanding grit and a guide coat, because mixed porosity and tool marks telegraph under directional light. If the wall reads flat under inspection light, your luxury finish stays flawless.
Level 4 Vs Level 5 Drywall Finishing: Which You Need
Where your luxury paint job either sings or shows every flaw often comes down to a single decision: Level 4 or Level 5 drywall finishing. You specify Level 4 when you want reliable smoothness under standard viewing conditions, delivered to tight precision standards with taped joints, two coats on fasteners, and uniform sanding. You choose Level 5 when you need a skim coat over the entire surface to erase porosity differences and joint “telegraphing,” especially after primer locks in texture. Factor moisture impact, too: bathrooms, laundry rooms, and exterior-adjacent walls demand extra continuity to prevent subtle swelling from printing through later. Decide fast with this checklist:
- Budget: Level 4 saves labor.
- Risk tolerance: Level 5 reduces callbacks.
- Substrate variability: Level 5 stabilizes paint uptake.
Drywall Finishing for Harsh Light and Higher Sheen
Even with the right Level 4 or Level 5 spec on paper, harsh raking light and higher-sheen paints will still expose minor ridges, lap marks, and porosity shifts that flat finishes often forgive. To control glare risks, you’ve got to treat the wall like an optical surface, not just a substrate. Use consistent compound chemistry and water ratios, keep layer thickness uniform, and sand with disciplined grit progression to avoid telegraphing. Vacuum dust between passes so abrasive fines don’t create precision gaps. Validate with a movable, low-angle inspection light and mark defects immediately, then skim and feather beyond the witness line. Lock absorption with a premium drywall primer before any eggshell or satin goes up, so sheen lays down evenly.
Drywall Details That Look High-End (Corners, Joints, Flats)
In luxury interiors, the “high-end” read often comes down to whether your corners, joints, and flats disappear under light. You get that effect by engineering geometry, not by chasing paint.
- Corners: You set beads dead-straight, fasten uniformly, then build compound in thin, controlled passes. That corners durability comes from a tight, fully embedded bond and crisp edges you can’t catch with a fingertip.
- Joints: You drive joints alignment by feathering wide, keeping crowns low, and maintaining consistent tape tension so the plane stays continuous across framing shifts.
- Flats: You skim to a uniform micro-profile, then sand with guided lighting to remove cross-grain scratches and roller-stipple telegraphing.
Do it like this, and sheen reads intentional, not revealing.
Red Flags in Drywall Finishing Before Paint
A luxury paint job can’t hide drywall mistakes—it spotlights them, so you’ve got to catch finishing red flags before primer ever hits the wall. During your prefinish inspection, rake a bright work light across surfaces; scalloped joints, chatter marks, and over-sanded paper fuzz will telegraph through topcoats. Check fasteners: proud screws, cratered dimples, and inconsistent fill depth create pockmarks after paint shrinks. Scan corners for flat spots, wavy bead lines, and tape shadowing at outside angles. Look for joint compound contamination—dust, fibers, or lumps—that prevents tight knife edges. Run your hand: ridges, pinholes, and edge lines signal poor feathering. Finally, watch for uneven sheen in dried mud; it often indicates variable porosity and future flashing.
What to Ask for in Your Drywall Finishing Scope
Where do luxury paint jobs go sideways most often? In a vague drywall scope that ignores tolerances, lighting, and substrate performance. You can’t buy perfection after the fact; you spec it up front with precision planning that survives budget constraints without sacrificing finish integrity.
Ask your finisher to define deliverables, not vibes:
- Level target and verification: State Level 5 where critical, plus inspection under raking light and documented touch-up criteria.
- Surface prep protocol: Require skim strategy, corner bead type, fastener treatment, dust control, and moisture/temperature limits for curing.
- Transition and integration details: Call out drywall-to-trim reveals, shadow lines, patch boundaries, and primer compatibility with your paint system.
If it isn’t measurable, it won’t be repeatable.
Frequently Asked Questions
How Much Does Level 5 Drywall Finishing Typically Cost per Square Foot?
You’ll typically pay $2.50–$6.00 per square foot for Level 5 drywall finishing, though complex scopes can push higher. You’ll see pricing variations driven by surface condition, skim-coat thickness targets, lighting-critical walls, and required sanding/filtration controls. Regional labor rates and crew availability can swing bids substantially. You can tighten costs by standardizing wall heights, minimizing butt joints, and specifying measurable acceptance criteria upfront.
How Long Should Joint Compound Cure Before Priming and Painting?
You should let joint compound cure 24 hours minimum before priming; plan 48–72 hours for thicker coats, Level 5 skim coats, or humid jobs. You can’t rely on the clock alone—verify joint compound curing by checking it’s uniformly light, hard, and cool-to-neutral to the touch. Environmental conditions drive drying: keep 50–70°F, 30–50% RH, and active ventilation or dehumidification for predictable, high-performance results.
Can Existing Textured Walls Be Skim-Coated for a Smooth Luxury Finish?
Yes—you can skim-coat existing textured walls for a smooth luxury finish; it’s like turning sandpaper into glass. Skim coating feasibility depends on texture height, paint adhesion, and substrate stability. You’ll degrease, scrape peaks, then apply a bonding primer for mechanical bite. You’ll run two to three tight coats with a wide knife, sand between passes, and check with raking light before priming and painting.
What Humidity and Temperature Range Is Best for Drywall Finishing Quality?
You’ll get the best drywall finishing quality at a 40–60% humidity range and a 55–75°F (13–24°C) temperature range, held steady. You control joint compound cure rate, minimize edge cracking, and reduce flashing from uneven porosity. You’ll run HVAC, dehumidification, and gentle airflow—no direct fans—to stabilize evaporation. You’ll also keep surfaces above dew point, and log conditions with sensors for repeatability.
Should I Hire a Third-Party Inspector to Verify Finish Quality Before Paint?
Yes—you should, especially on high-visibility walls and critical lighting zones. You’ll hire quality control and schedule a third party inspection to confirm Level 4/5 compliance, uniform skim thickness, and sanded plane continuity. You’ll catch ridges, flashing risk, fastener telegraphing, and joint shadowing before primer locks defects in. Require raking-light scans, moisture readings, and documented punch lists so you control rework timing and protect finish warranties.
Conclusion
Coincidentally, the moment you upgrade to premium paint is the moment every drywall shortcut starts showing up—under a raking LED, beside a sharp corner, across a high-sheen wall. If you want a luxury finish, you can’t “paint past” geometry, tool marks, or joint telegraphing. You’ve got to specify the right level (often Level 5), demand uniform skim and sanding, and verify corners, flats, and fasteners before primer. Precision isn’t optional; it’s the substrate.