

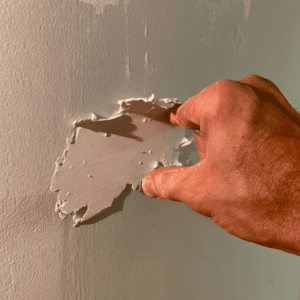
If your drywall got wet in Florida, repair it only if it dried within 24 to 48 hours, feels firm, and moisture-meter checks show the cavity is dry. If it’s swollen, soft, sagging, stained, or has visible mold, replace it. Sewage, floodwater, or unknown contamination also points to removal. Stop the source first, fully dry the wall, and verify hidden moisture before closing it up. Here’s what to watch next.
Can Wet Drywall Be Repaired or Replaced?
Wet drywall can sometimes be repaired, but only if it dries completely within about 24 to 48 hours, stays firm (not spongy or crumbly), and the seams and framing behind it are still dry. In Water damage restoration, you should verify the hidden cavity with a moisture meter before Repairing Water-Damaged Drywall. If the board has swollen, delaminated, softened, sagged, or shows staining or visible growth over a large area, replacement is the safer move. You can’t reliably clean mold from porous gypsum-paper, so mold remediation usually means opening the wall, drying the assembly, and replacing drywall without hidden contamination. Clean supply-line leaks may allow limited drying in place, but sewage or floodwater usually requires removal. That approach helps prevent mold growth and supports a faster, more innovative recovery.
How to Spot Water-Damaged Drywall
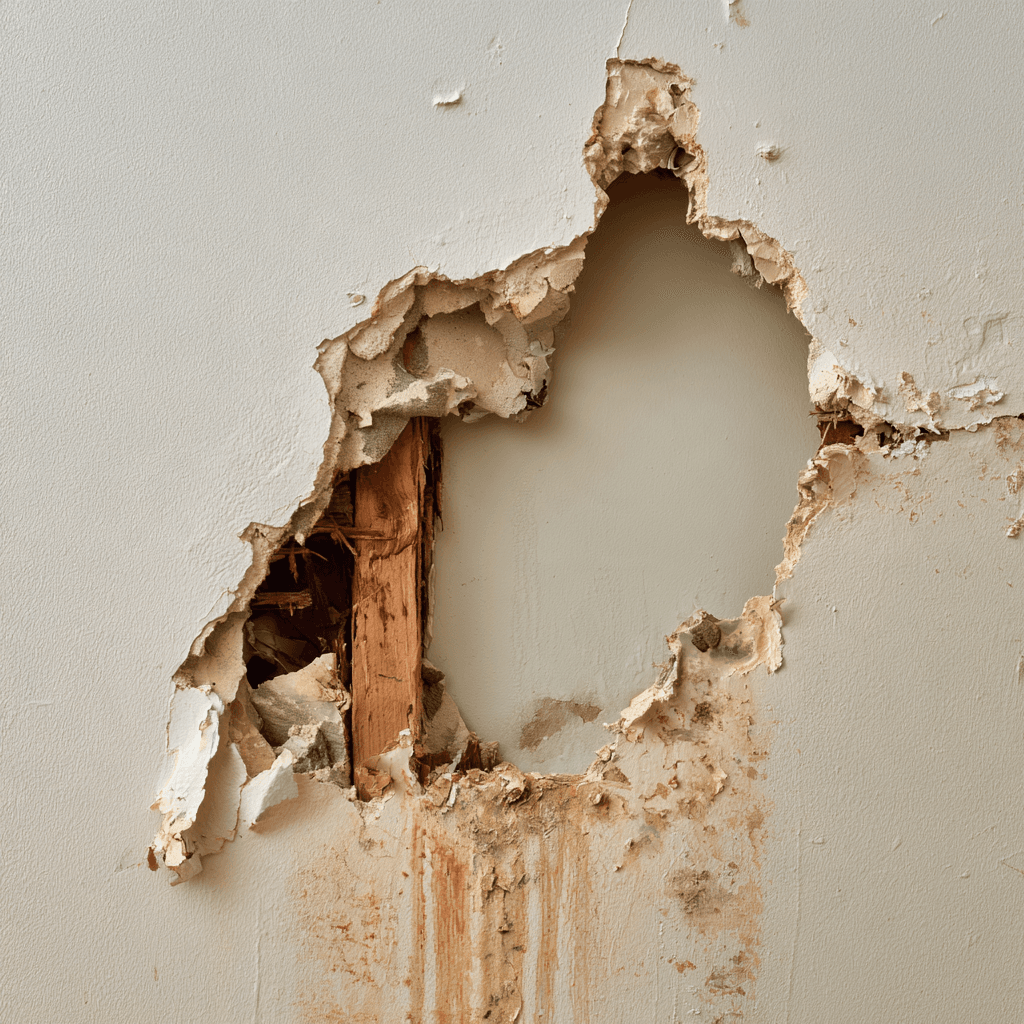
If you suspect water damage, look for stains or discoloration, bubbling or peeling paint, and hairline cracks near seams, since moisture often shows on the drywall surface before it reaches the framing. Check for water stains, soft spots, sagging, or warped panels; if the drywall feels spongy or gives under light pressure, it has likely absorbed moisture and weakened. Sniff for a musty odor, which can signal mold behind the wall, often within 24–48 hours. Watch for bubbling wallpaper, swollen edges, or warped paper facing. If you have a meter, take moisture readings in suspect areas and compare them to a known dry section. Low readings help confirm the wall is dry; elevated readings mean the material still needs attention before repair or replacement.
What Causes Drywall Water Damage in Florida?
In Florida, drywall damage usually starts with a plumbing leak, roof leak, or window intrusion during heavy rain, though high indoor humidity and condensation can also keep wetting the wall over time. You may trace the water source to a burst pipe, a failed toilet seal, a leaking water heater, or a washing machine line. HVAC issues can hide moisture behind the drywall when a clogged condensate drain or overflowing pan drips into cavities. Storm surge, flooding, and slab seepage can quickly soak porous panels. In bathrooms, kitchens, and laundry rooms, mold thrives in damp conditions, so delayed drying raises risk. If paint bubbles or the wall softens, score the area with a utility knife and inspect for concealed damage before you decide on repair or replacement.
How Mold Affects Drywall Repair Decisions
Mold can change your repair decision fast because it can start growing on moisture-damaged drywall within 24 to 48 hours, and once it takes hold, a simple patch often won’t last. If you see soft, spongy, crumbly, or stained drywall, treat the wall as compromised, especially over larger areas.
- Check the cavity: hidden mold can survive behind drywall, even when the surface looks dry.
- Use meters: moisture readings and inspection of insulation or framing guide the call.
- Replace porous material: cleaning alone usually can’t fully recover contaminated drywall after water damage.
After remediation, wait until the drying process brings framing near safe levels and indoor humidity stays controlled. That helps your repair perform, resists recurring mold, and protects the wall long term.
Should You Dry Wet Drywall in Place?
You can dry wet drywall in place only if it hasn’t swollen, the seams are still intact, and you can access and dry the cavity behind it. Even then, you shouldn’t assume it’s dry just because the face looks dry; you need moisture-meter checks over time to verify the board, insulation, and framing are dry. If the drywall is soft, delaminated, visibly moldy, or damaged, you should remove it instead of trying to save it.
Drying In Place
If the drywall is still flat, the seams are tight, and you can dry and monitor the cavity behind it, drying it in place may be an option; otherwise, replacement is usually the safer call. After water extraction, find the Source, then check the studs and insulation before you decide. Use fans and dehumidification, and keep the wall open until readings show the assembly is properly dried, not just the surface.
- Inspect for swelling, buckling, or separated drywall tape.
- Verify hidden moisture over time in Florida humidity.
- Close the wall only when framing reads normal and stable.
If you see microbial growth or the board feels spongy, don’t force a repair. In these cases, drying in place can trap moisture and keep mold active behind the finish.
When Removal Is Needed
When drywall is swollen, soft, delaminated, or shows visible microbial growth, removal is usually safer because damaged gypsum and paper can hold moisture and mold that surface cleaning won’t fully reach. If the extent of the water damage is more than superficial, or the drywall is completely saturated, don’t gamble on in-place drying. A professional water damage team should open the wall, inspect the insulation and framing, and use moisture meters to verify the cavity is dry before you close it again. In South Florida, humidity can hide issues like mold growth behind apparently dry paint, so you need controlled drying and targeted removal. If you smell mustiness or suspect hidden contamination, cut back beyond the affected zone, clean the assembly, and replace compromised board to stop recurrence.
When Drywall Replacement Is the Safer Choice
Drywall replacement is the safer choice once the board turns soft, sagging, spongy, crumbly, or starts bubbling and peeling, because those signs usually mean the paper-faced gypsum core has taken on too much moisture to restore reliably. In Florida, stop the water first, then assess the extent of the drywall and any hidden damage.
- If mold spores cover more than about 10 sq. ft., or you see growth spreading in the cavity, choose replacement over restoration.
- If insulation or other concealed materials stayed wet, water restoration alone won’t solve the problem; install new drywall only after the cavity is dry.
- If sewage, floodwater, or an unknown source contaminated the wall, replacement reduces risk and supports a safer, more advanced repair plan.
How Professionals Remove Damaged Drywall
Professionals don’t just tear out damaged drywall—they first stop the water source, then set up containment with 6-mil plastic, taped seams, and HEPA air control before opening the wall, so mold spores don’t spread through the house. You’ll score-cut and remove drywall at least 12 inches past the last soft or stained area to prevent hidden growth from lingering. For water damage, it’s best to call professionals from a restoration company because they use dust-minimizing methods and keep the work zone controlled. After removal, they inspect framing with moisture meters, HEPA-vacuum exposed surfaces, and clean any moldy wood with detergent and water. They bag wet insulation, then dry materials to baseline readings to prevent further issues.
What Comes After New Drywall Installation
Once the new drywall is in place, you shouldn’t rush the finish work—first confirm the wall cavity is dry with a moisture meter, ideally with framing near 15% moisture content, so trapped moisture doesn’t trigger mold regrowth. Then a professional can tape and mud the seams with joint compound in about three coats, letting each layer dry fully before sanding flush. Keep indoor humidity near 30–50%, and remember the EPA recommends staying below 60% during curing so the finish sets evenly. 1. Inspect wood framing. 2. Apply primer after sanding. 3. Paint to match sheen and color. If stains linger, use a stain-blocking primer before topcoating. This disciplined process helps you lock in a clean repair and reduce the risk of future water damage.
How to Prevent Future Drywall Damage
Stop drywall damage at the source by fixing leaks, roof issues, or A/C condensation right away, then control indoor humidity with dehumidification and ventilation. After any water event, fully dry the wall cavity and verify it’s dry before you close it up or paint. Seal plumbing penetrations and seams, and regularly inspect bathrooms, laundry areas, windows, and ceilings so small moisture problems don’t become major repairs.
Control Moisture Sources
To prevent future drywall damage after a leak or flood, stop the moisture source completely first: shut off the supply line, repair the pipe, roof, or AC condensation problem, and correct any failed flashing or drainage issues. Acting quickly protects the affected area and limits how far the leak spreads. Mold thrives in damp environments, so treat every Source of moisture as a system failure, not a surface issue.
- Confirm the hidden cavities are dry with a moisture meter.
- Verify the wall assembly is near baseline before closing it.
- Control indoor humidity with properly sized dehumidifiers and fans, and inspect seams and corners for recurring condensation.
In Florida’s heat, monitor drying for 24–48 hours or more if the leak duration is unknown, because materials can stay wet longer than they look.
Improve Ventilation Regularly
After you’ve stopped the leak and dried the wall cavity, keep the space from soaking up Florida humidity again by improving ventilation regularly. Improve ventilation regularly with HVAC tuning, a dehumidifier, and exhaust fans that run 20–30 minutes after showers or cooking. Hold indoor humidity near 30–50%, or at least under 60%, so drywall seams and paper facing don’t stay damp. Use air movement plus dehumidification, then confirm dryness with a moisture meter before you close walls or paint. Keep vents clear on exterior walls, and inspect bathroom corners, laundry rooms, AC condensate lines, and trim for recurring condensation. Without controlling airflow, warm air can hide behind drywall and cause new damage.
How Cleanup Costs and Insurance Work
Cleanup costs in Florida can climb fast once moisture sits for 24–48 hours because mold can establish quickly and turn a simple patch into a larger drying, demolition, and re-drywall job. When you’re dealing with water damage, you need to navigate the insurance process early and document everything.
- Small, dry areas may only need patching, taping, mudding, priming, and painting.
- Depending on the extent, swollen or crumbly drywall, or mold over 10 sq ft, usually means replacement, containment, and higher disposal costs.
- Ask whether your policy covers sudden leaks, drying, HEPA vacuuming, cavity drying, and moisture-meter verification.
Cleaning up supply-line leaks usually costs less than sewage or floodwater. Photos, moisture readings, and receipts help support claims, reduce delays, and protect your peace of mind when structural damage and health risks are involved.
Frequently Asked Questions
When to Replace Water Damaged Drywall?
Replace water-damaged drywall when you assess saturation and it’s soft, sagging, crumbling, or delaminated. Evaluate structural stability, identify hidden leaks, and determine remediation scope before patching. If mold is present, if drying’s incomplete, or if contamination’s involved, replacement’s usually smarter. Consider material type and compare costs, because porous board rarely recovers fully once moisture or microbial growth compromises it.
How to Check for Mold After Water Damage in House?
You can check for mold after water damage by looking for common clues: musty odors, bubbling paint, soft drywall, and warped panels. Then test the drywall and framing for moisture, and check humidity levels. Inspect for hidden leaks behind walls, and open a small section if staining persists. Compare ventilation checks against normal airflow. If you find hidden growth or a large affected area, call a pro fast.
How Much to Replace Drywall After Water Damage?
You’ll usually replace all drywall that shows moisture damage, structural concerns, or mold, plus any insulation behind it that’s affected. A moisture assessment shows how far the damage spreads, and drywall thickness helps you estimate labor and materials. If the area exceeds about 10 square feet, cut it out fully. Use cost estimates for square-foot pricing, and add mold remediation if contamination or growth’s present.
What’s the Difference Between Water Damage and Mold?
Water damage means you’re dealing with drywall saturation, water contamination, and hidden moisture; mold damage means microbial growth has already started. Don’t assume a dry surface means you’re safe—material porosity can trap moisture behind the wall. You’ll need to identify humidity sources, dry the assembly fast, and remove contaminated material if growth appears. In practice, water damage is about wetness, while mold damage is about biological colonization.
Conclusion
When water or mold hits your drywall in Florida, act fast. If the damage is minor and caught early, you may be able to dry and repair it; if it’s sagging, stained, or moldy, replacement is usually the safer choice. For example, a single roof leak can turn a small ceiling patch into a full demolition job if you wait. Don’t guess—inspect, remove compromised material, and fix the moisture source first.